How to add transition in alight motion
In this article, we will explore how to add transition in Alight Motion, along with various transition ideas to spark your creativity. Additionally, we’ll delve into the Alight Motion Flash Effect and provide insights into using transition presets and accessing free transition packs.
Alight motion transitions pack free download:
Check this too: How to mask on alight motion, Clipping Masks
What is an Alight Motion Transition?
An Alight Motion transition is a visual effect that smoothly bridges the gap between two video clips or elements. Transitions can range from simple cuts and dissolves to more intricate effects like wipes, slides, and zooms. Alight Motion offers a wide array of transitions to choose from, enabling you to customize the flow and feel of your videos.
Main Steps To Apply how to do a shake transition on Alight Motion:
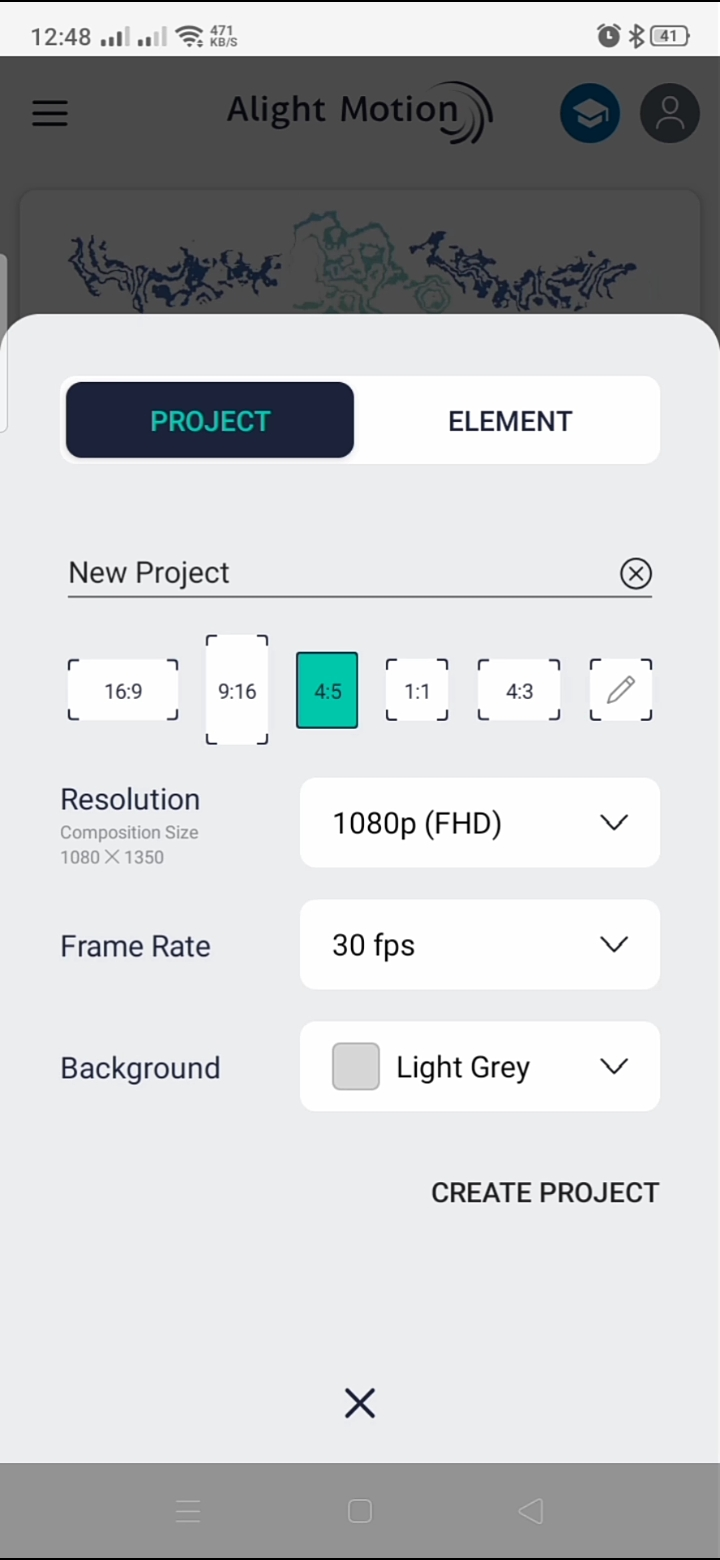
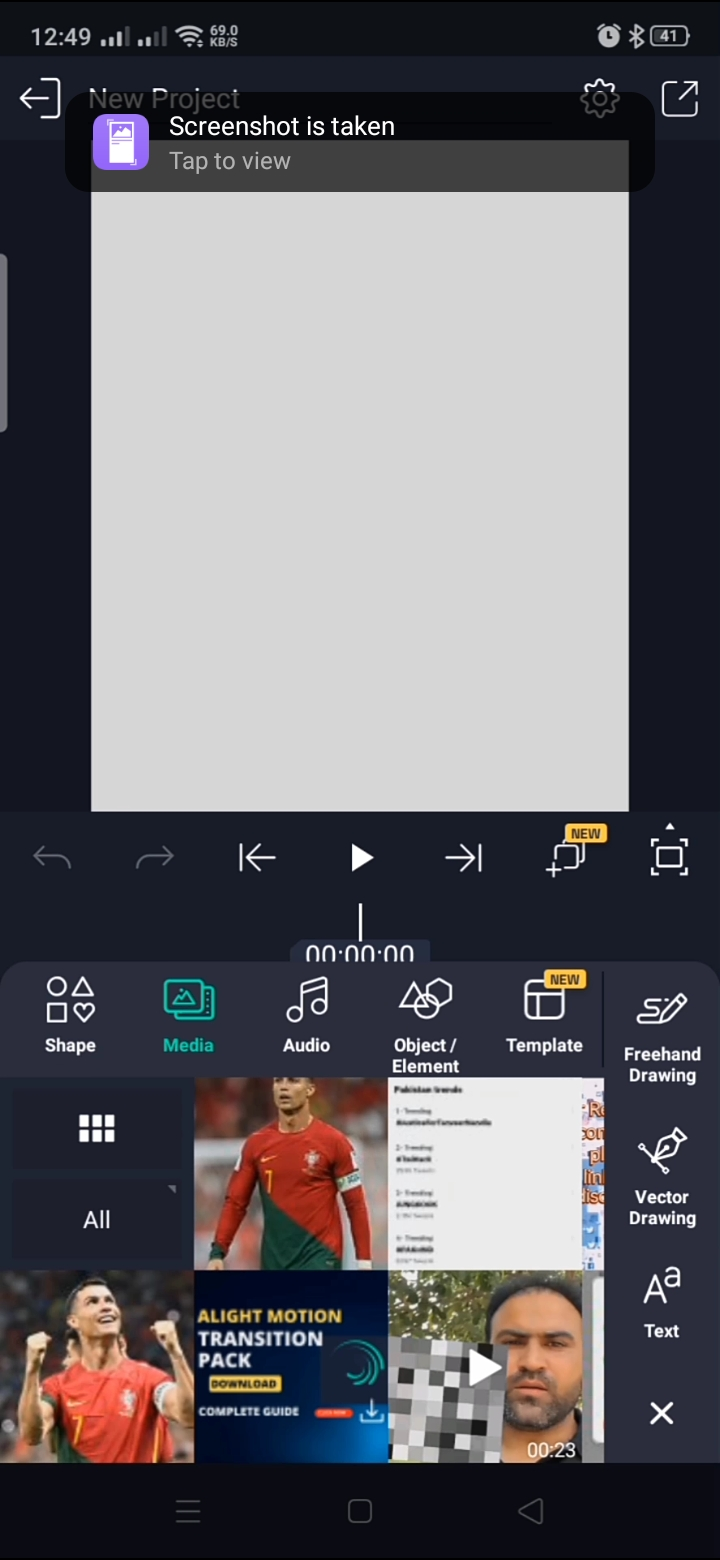
- Open Alight Motion & click on the + icon
- Now select aspect ratio & click on create project
- Now add media so you can add transitions & effects
- Add any two pictures or videos to add media.
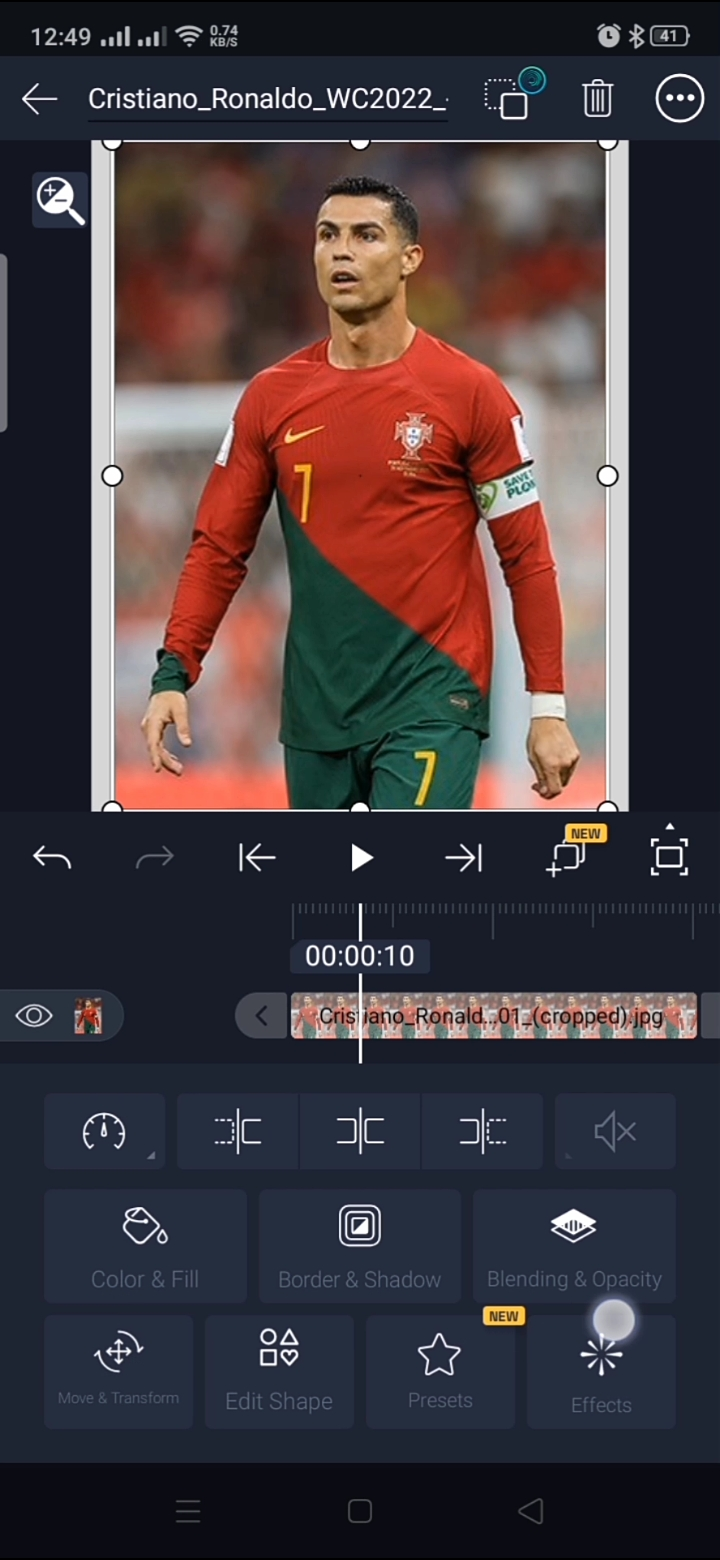
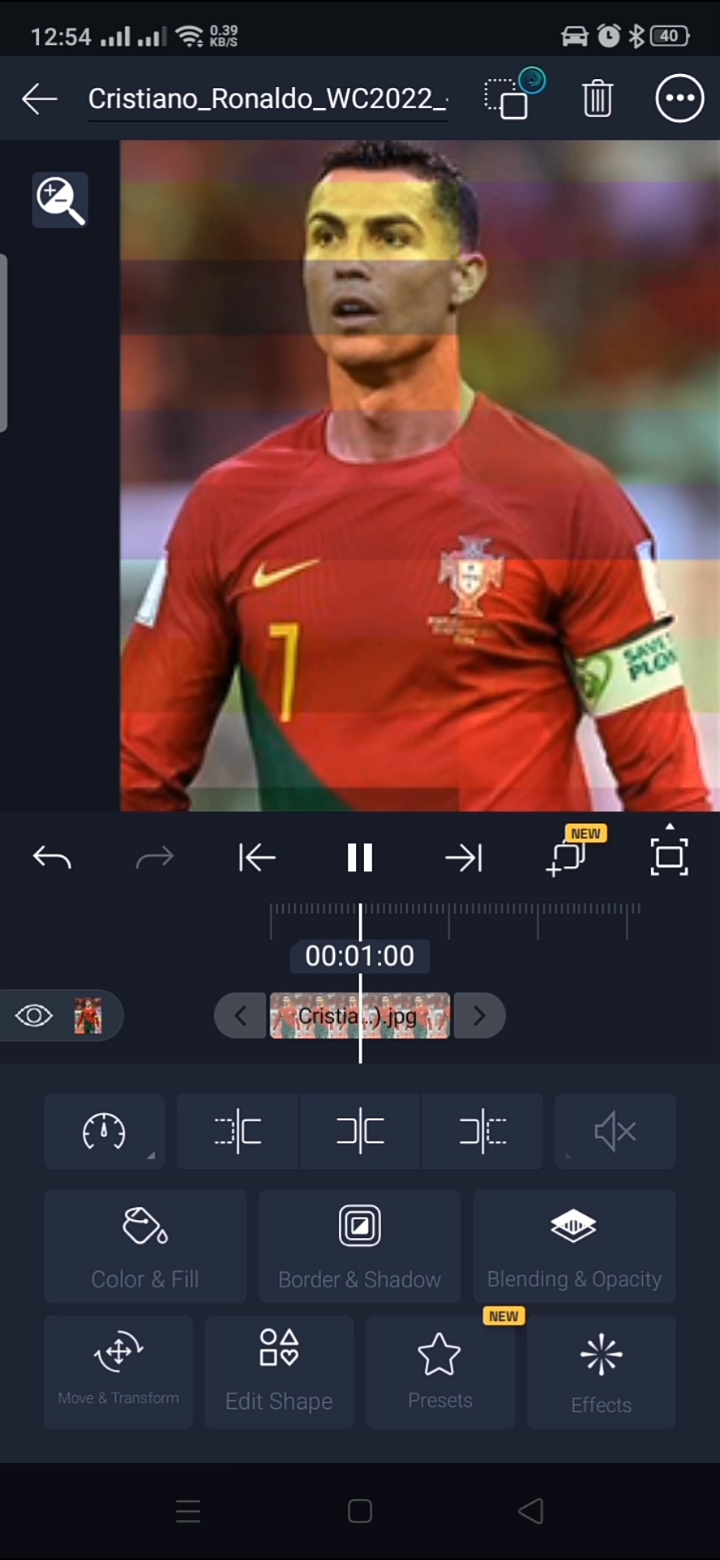
- Now click on the media layer & click on the left side below the corner, move & transform
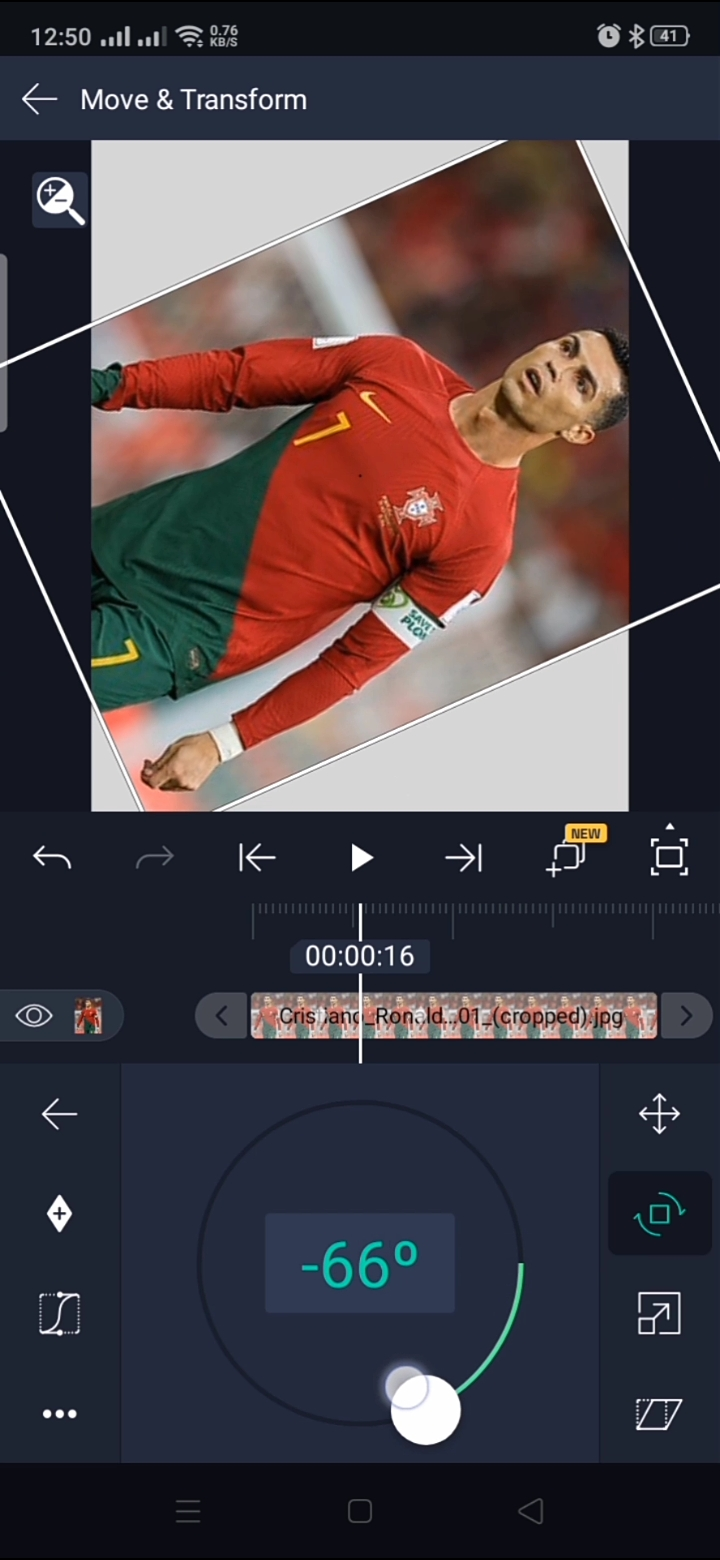
- Now click on the + icon
- Click on the angle transition or other transitions.
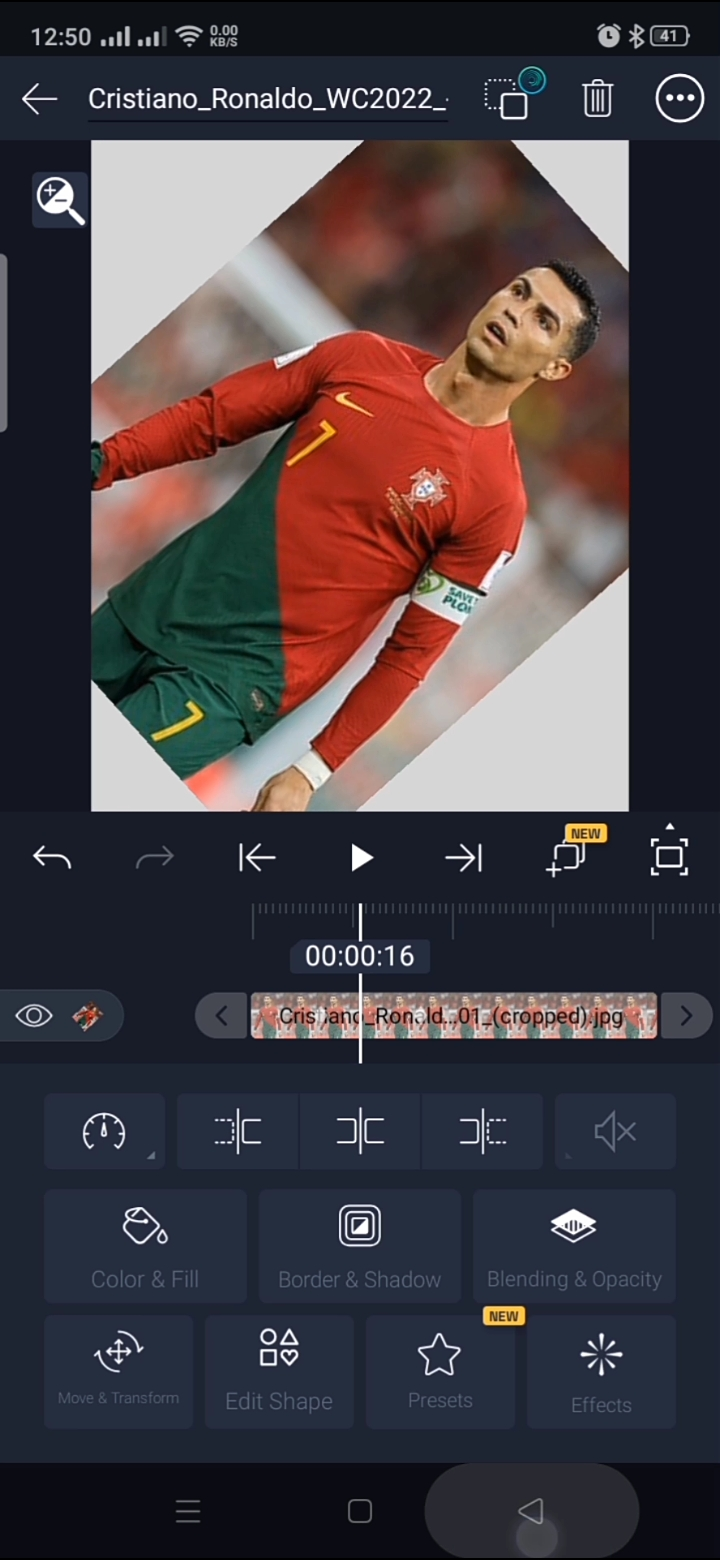
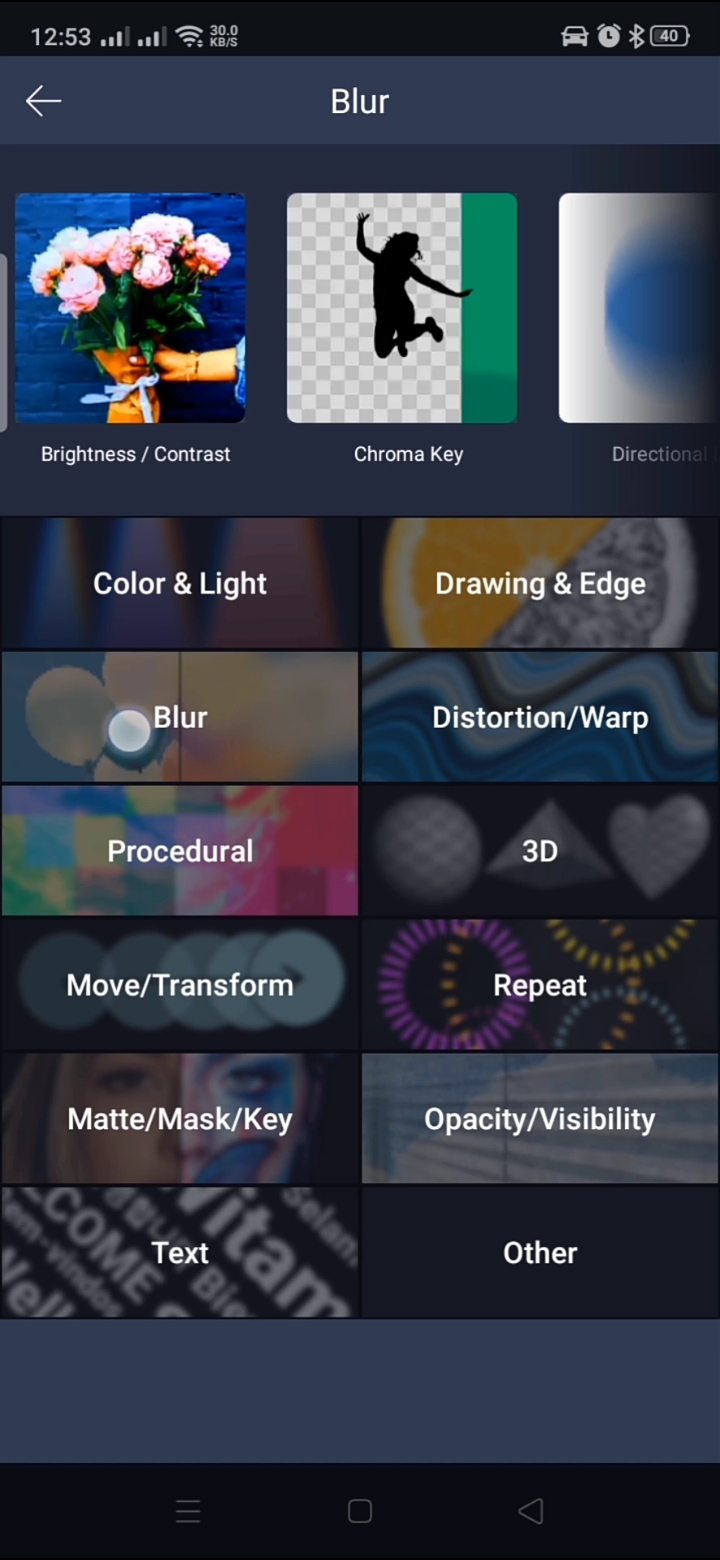
- Now you can add effects, so click on the right side of the box where the effect button appears.
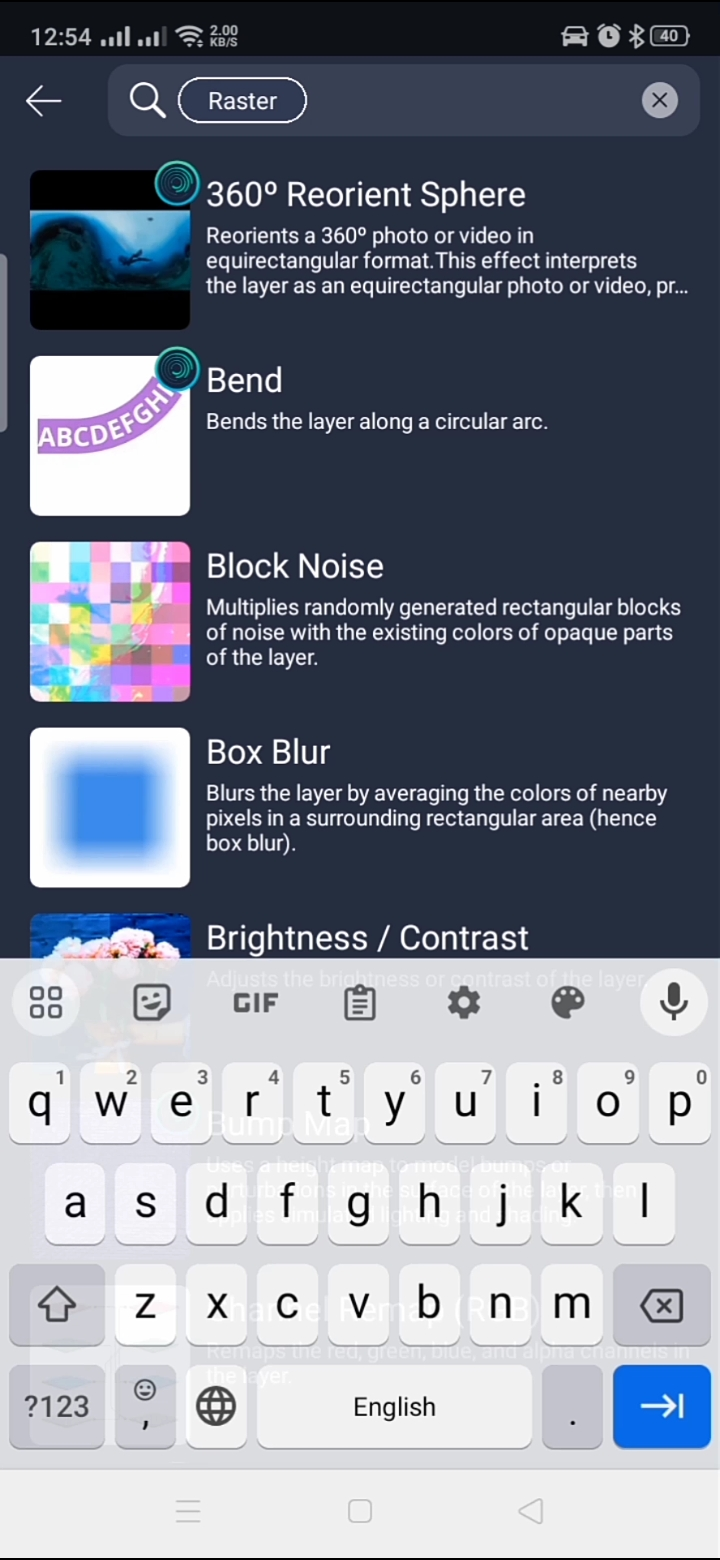
- Now add any effects like blur etc
- Tick on the “Raster” button
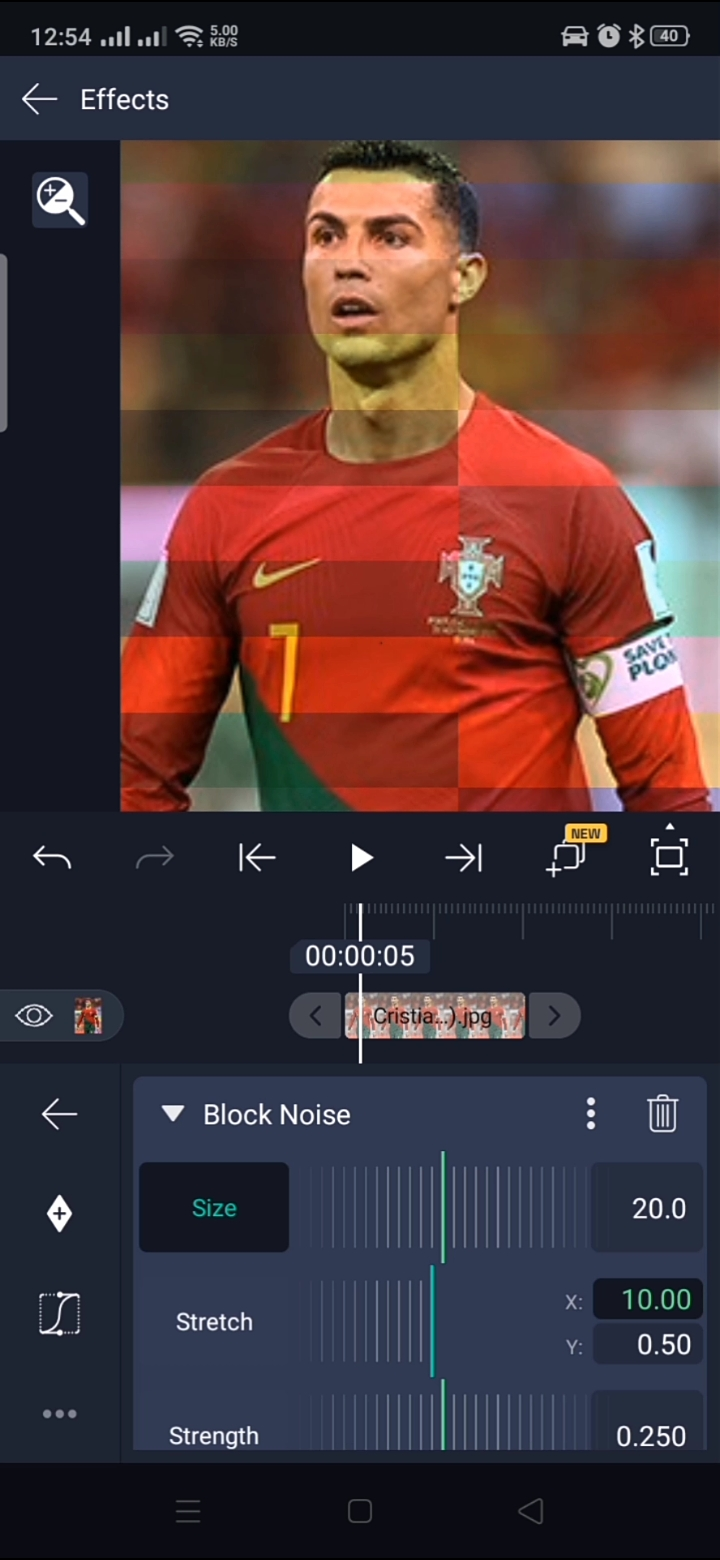
- Now edit the effects regarding size, strength or stretch
- Once you have added transitions and effects to your photo or video, you can check it out.

Alight motion transition ideas:
Glitch Effect: Create a glitch transition where the image is distorted and flickers, giving a cool, futuristic feel.
Zoom Blur: Use a zoom blur transition to add a dynamic and fast-paced effect between clips or images.
Light Leaks: Apply light leak transitions to add a dreamy and vintage touch to your videos.
Color Swipe: Have a colorful swipe move across the screen to reveal the next clip or image.
Pixelate: Use a pixelation effect to transition between scenes, giving a digital and retro vibe.
Fade and Scale: Gradually fade out the current scene while scaling up the next one for a smooth and elegant transition.
Flip and Spin: Make the screen flip or spin to transition between scenes, adding an eye-catching twist.
Particle Burst: Use particle effects to burst into the next scene, adding a magical and whimsical touch.
Shape Morph: Morph between shapes or objects to transition from one scene to another, giving a creative and seamless effect.
Radial Wipe: Have a radial wipe effect to reveal the next scene from the center outward.
Split Screen: Divide the screen into multiple parts and transition each segment independently for a unique storytelling approach.
Ink Bleed: Use ink bleed animations to blend scenes together, providing an artistic and dramatic transition.
3D Rotation: Rotate the screen in 3D space to transition between clips, giving a dynamic and modern look.
Time Freeze: Freeze the current scene and shatter it into pieces, revealing the next scene beneath for an exciting and unexpected transition.
Motion Blur Swipe: Apply a motion blur effect as the screen swipes to the next scene, creating a sense of movement and speed.
Geometric Patterns: Use geometric shapes and patterns to transition between scenes, adding an abstract and stylish touch.
Tape Roll: Have the screen appear as if it’s being rolled away like a tape, revealing the next scene underneath.
Particle Disintegration: Disintegrate the current scene into particles that scatter and form the next scene for a dramatic and captivating transition.
Ripple Effect: Add a ripple effect that emanates from the center of the screen to transition to the next scene, providing a smooth and calming transition.
Sliced Transition: Slice the screen into multiple segments, and each segment reveals the next scene for a dynamic and puzzle-like effect.
What is the Alight Motion Flash Effect?
The Alight Motion flash effect is a visually striking technique that involves briefly illuminating specific parts of your video with a burst of light. This effect can be used for various creative purposes, such as emphasizing certain elements, adding energy to action sequences, or creating eye-catching transitions between scenes.
Exploring the Alight Motion Blur Effect:
The Alight Motion Blur Effect is a visual effect that adds motion blur to your videos or animations. Motion blur is a technique used to create the illusion of motion by blending consecutive frames together. When an object moves rapidly, its appearance becomes blurred in real life due to the persistence of vision. The motion blur effect replicates this phenomenon in your videos, making the motion appear smoother and more realistic.